Publishing your app into Google Play Store is a great step for your business growth. It may sound a little difficult, but with this step-by-step guide you’ll get into it just in minutes. Enjoy it!
The Android operating system has matured and grown to the most-used operating system in the world, and Google Play Store is one of the most – if not the most – important parts of it. So, with more than 1 billion users and projected annual purchases of $45 billion by 2021, the Play Store means a huge opportunity for app owners.
We know that the moment of publishing your app may be difficult and even stressful. It’s not a simple process, you will need a tutorial that explains it with actionable steps.
That’s why we decided to save you that stressful moment and provide more value to your work. Let ‘s get into it!
How to publish an Android app into Play Store:
- Enter your Google Developer Account into Google Play Console.
- Add your app info, photos and other details.
- Manage your App Release and your Content Rating.
- Choose Pricing and Distribution.
- Release your app.
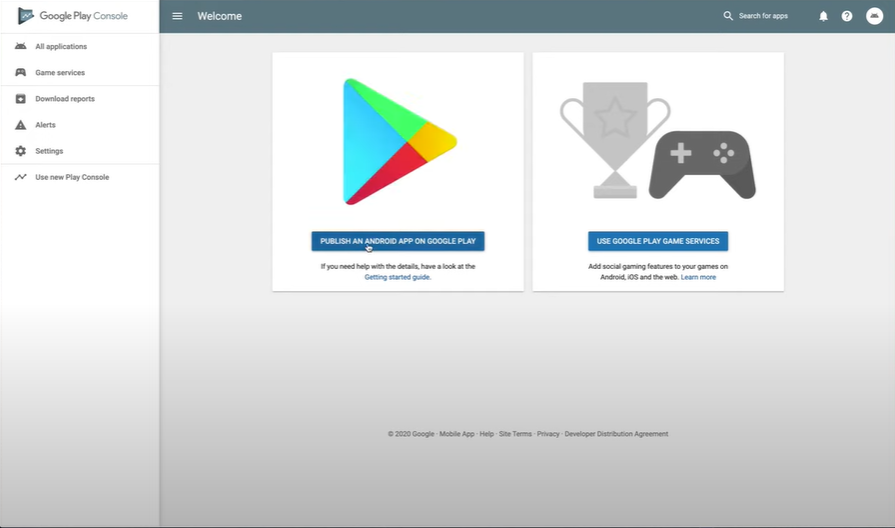
1- Enter your Google Developer Account into Google Play Console.
First step of all is creating a Google Developer Account. Once you created it, it’s time to get into Google Play Console and select the option “Publish an Android App on Google Play”.
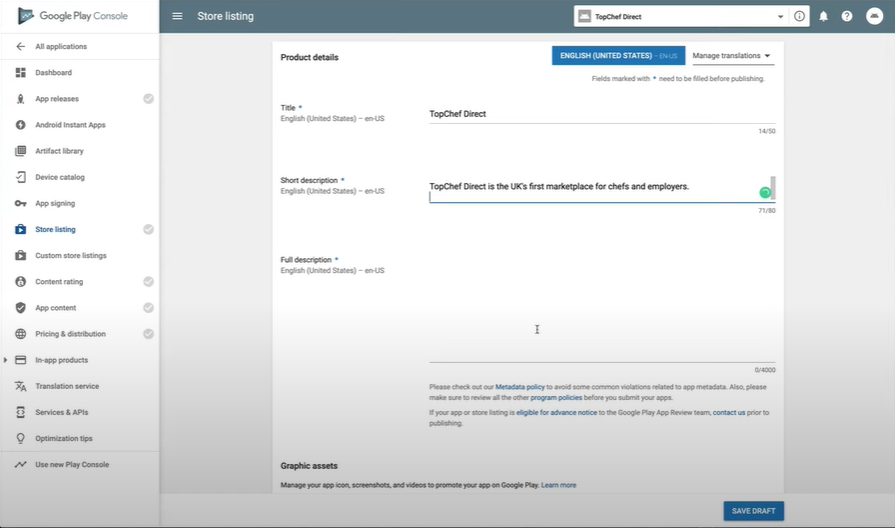
2- Add your app info, photos and other details.
Once you’re there, you have to insert the title of your app, the default language and a short and complete description of it.
You’ll also add your app icon, screenshots that will appear to your clients showing off the interface of your app.
You’ll see a “Feature Graphic” field, for which we give you this apptamin post that explains how to make it . “Promo Graphic” and “TV Banner” fields are optional so we’ll skip them for now.
Select your app category and insert your email address, when all the documents have already loaded, press ‘Save Draft’.
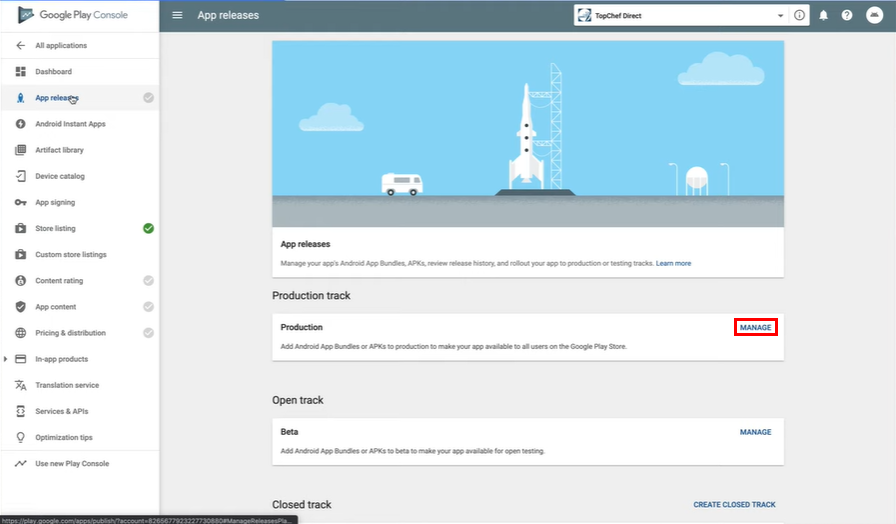
3- Manage your App Release and your Content Rating.
Once saved, it’s time to go to the “App Releases” label in the menu. You’re gonna select the ‘Production’ field and once there press ‘Manage’.
By the time you’re in Production you have to select ‘Create Release’ and press ‘Continue’ and ‘Accept’ in the recommended ‘Let Google manage and protect your app signing key’ window.
Now you need to drag your APK file into the next field, and once is uploaded you just type something about your release in the field that’s at the bottom of the page (something like ‘First Release!’).
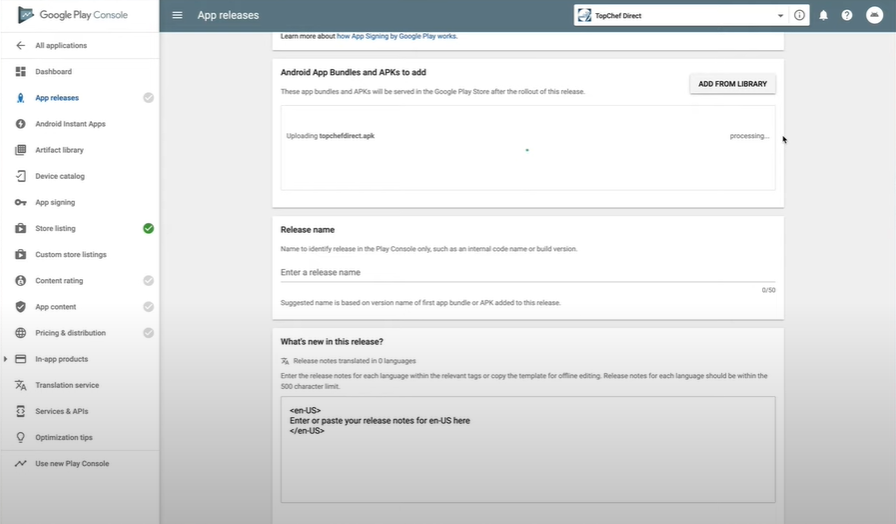
Click ‘Save’ and go to the ‘Content Rating’ label.
Once there, click ‘Continue’, then add your email address twice and select your app category.
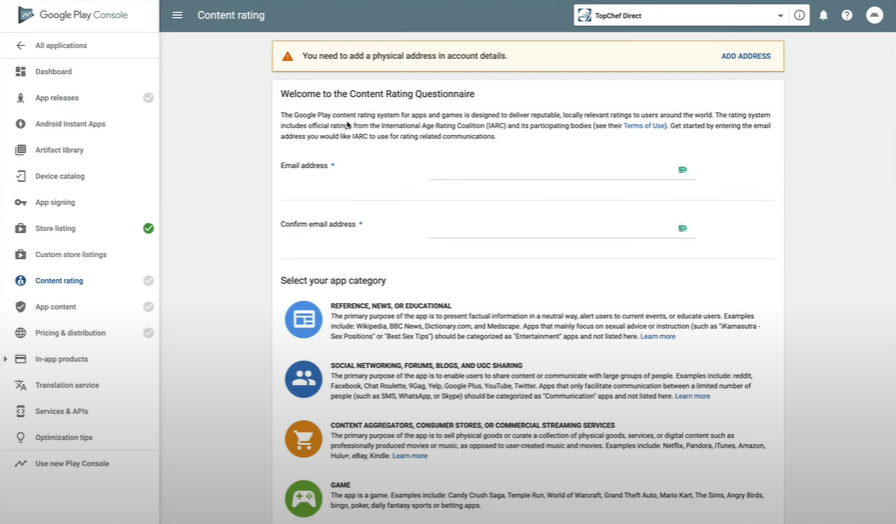
Complete the questionnaire about ‘Violence’, ‘Sexuality’, ‘Language’, ‘Controlled Substance’ and ‘Miscellaneous’. We recommend you to read those terms so you don’t have unexpected problems in the future. Then press ‘Save Questionnaire’, ‘Calculate Rating’ and ‘Apply Rating’.
Once it is ready, you go to ‘App Content’. Here we’re gonna fill all the details like Privacy Policy, Ads, App Access and Target Audience.
‘Privacy Policy can be filled with an URL from your website that gets the user to that page. In ‘Ads’ you’re gonna select if your app has Advertising or not. In the App Access field, if your app has a login system or something like that, you can provide your users like a demo login, but if not, just click on ‘All functionality is available without special access’. In ‘Target Audience’ just select the options that best fit with your app. When all is saved, press ‘Next’.
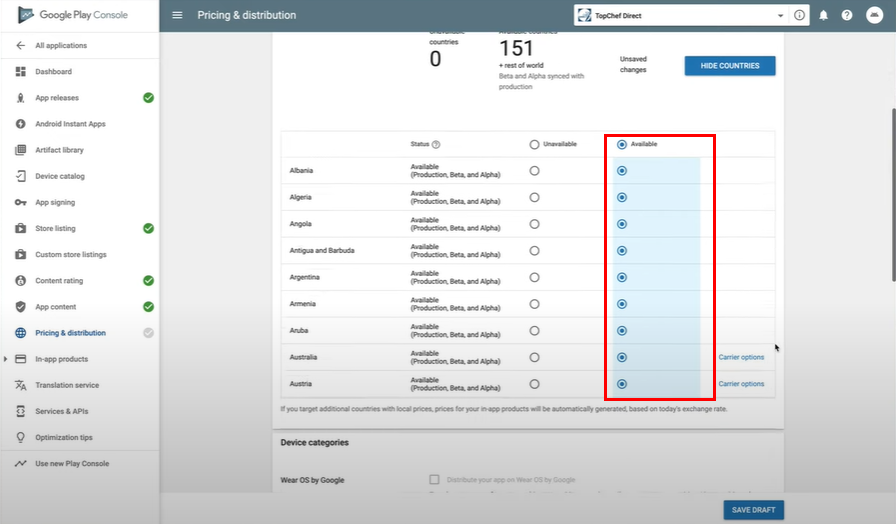
4- Choose Pricing and Distribution.
Once in ‘Pricing and Distribution’ select ‘Available’ everywhere.
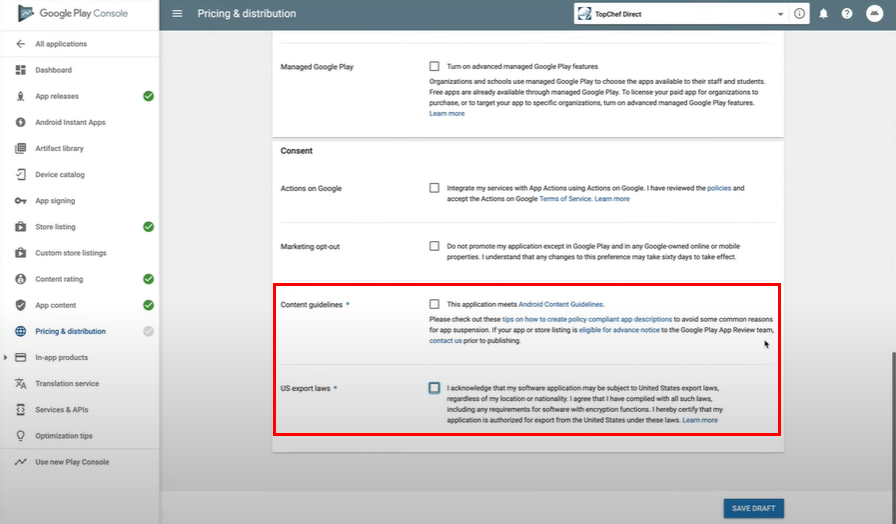
Then go to the bottom of the page and select two mandatory fields that are ‘Content Guidelines’ and ‘US Export Laws’. We also recommend you to read the terms of all fields just to make sure you don’t forget any detail that can be good for your app. Once you’re ready, press ‘Save Draft’.
5- Release your app.
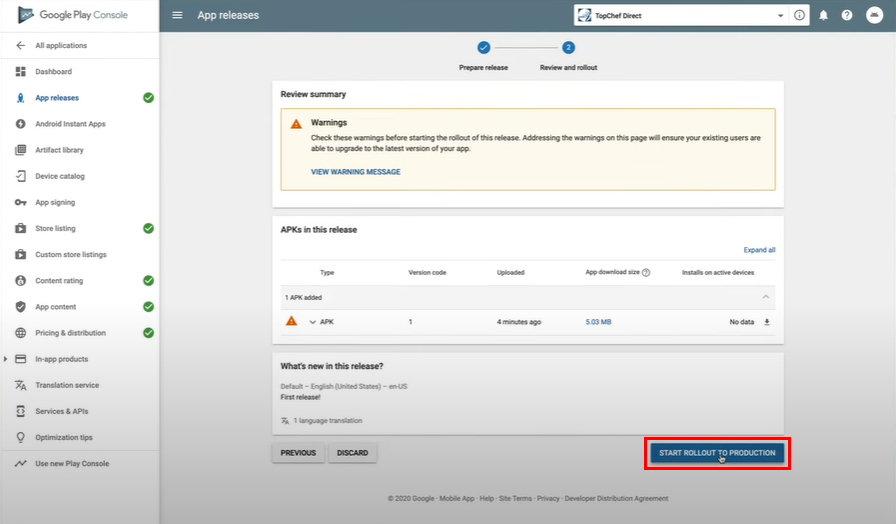
After previous steps are done, go back to App Releases select ‘Edit Release’ and ‘Review’ at the bottom of the page.
Don’t worry about warning signs that may appear, they’re almost always just notifications.
Then click at ‘Start Rollout to Production’ and ‘Confirm’
So, that’s all you have to know about how to publish your app into the Google Play Store. Now you just have to wait until Google reviews your app. They’re gonna email you to let you know if they have accepted your app or if you have to do any changes on it.
We also want you to check out our YouTube video showing the process of publishing your app into Play Store:
Now it’s time to get your app growing and give your clients what they need. We invite you to subscribe to our blog to receive premium advice. Zero spam, just relevant information to help you grow your business.
We hope this guide has been useful for you, and please let us know if you need help with something about the process or with the development of your application